This Says It All
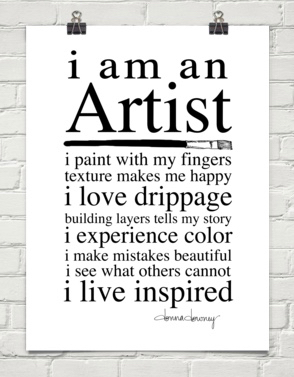
This is how I see life. 🙂 This poster by artist Donna Downey can be found at her site, Donna Downey Studios, for $25.00 – I want one! Hmmm, I see there is a mug too…
Vicky
This is how I see life. 🙂 This poster by artist Donna Downey can be found at her site, Donna Downey Studios, for $25.00 – I want one! Hmmm, I see there is a mug too…
Vicky
My art studio has been a busy place the last two weeks. I tend to create several pieces at once and I now have three new Assemblage canvases added to my shops while another four are still in the works. Spending that much time creating is so good for my soul – it’s such deep down satisfaction.
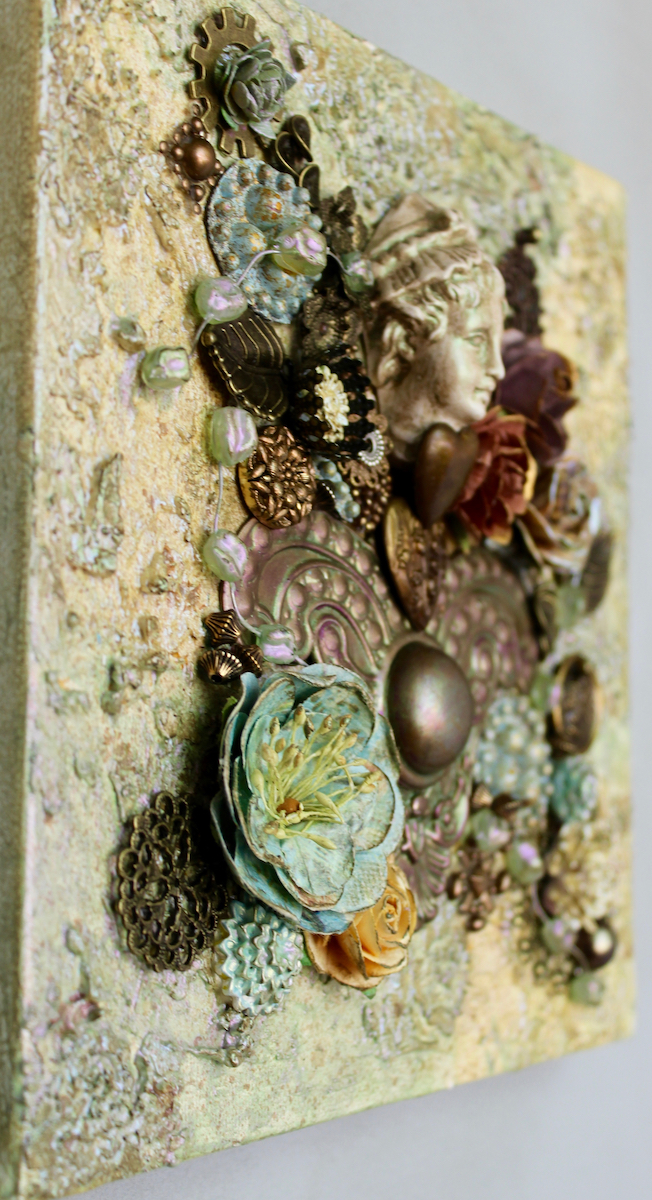
One of the things I enjoy most about Assemblage Art is the fact that it is so variable – there are so many directions to take each work. Today’s piece has yet another new look for me – elegance with a bit of old European flair.
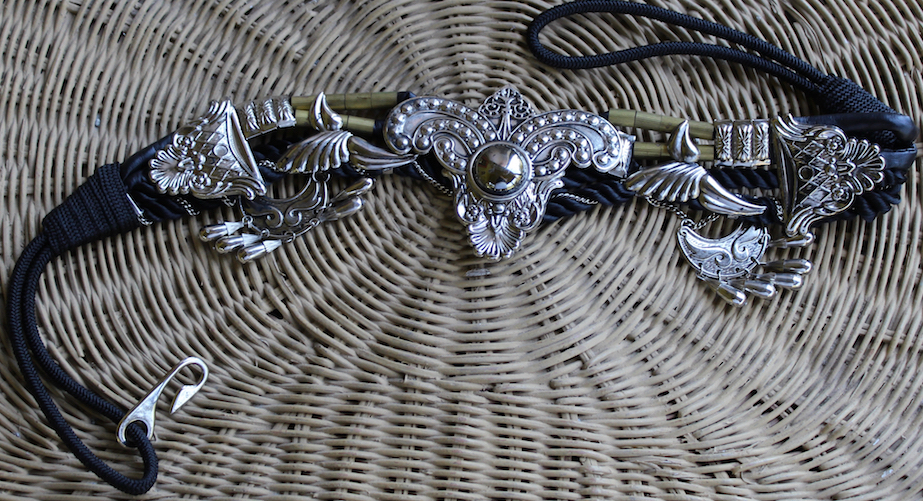 A fun fact – in September 2016, I ran a post here titled Finding Those Treasures to Turn Into Little Bits where I talked about finding vintage items to disassemble or cut into smaller pieces for inclusion in your Assemblage or Mixed Media art. I included a real find – a belt with numerous silver looking adornments. And the largest of those adornments is featured in today’s work – at it’s very center.
Now for the official description:
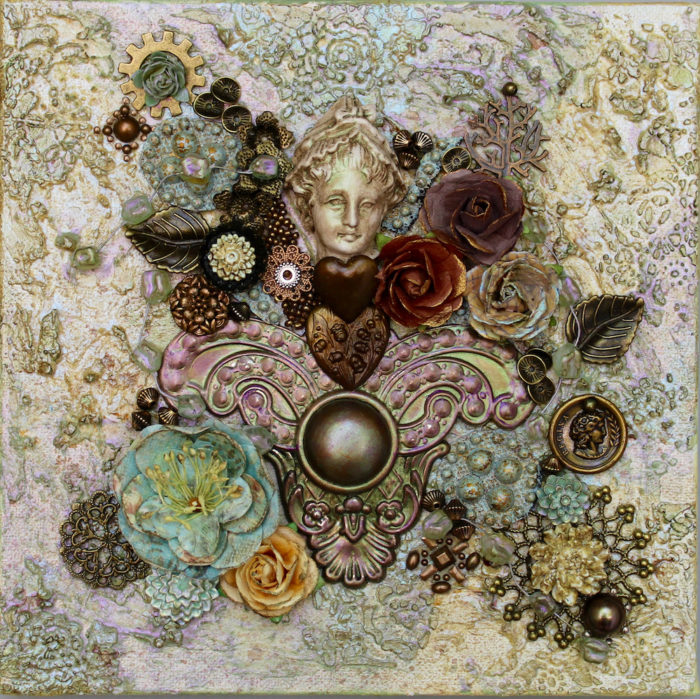
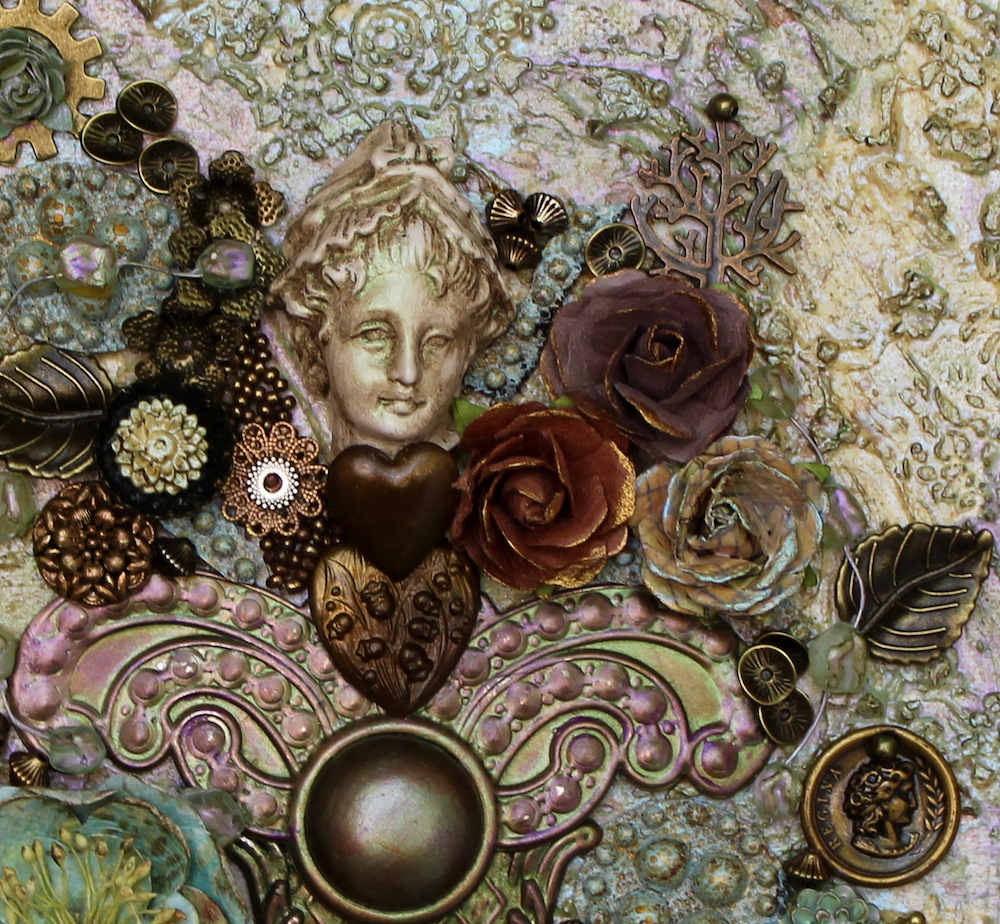
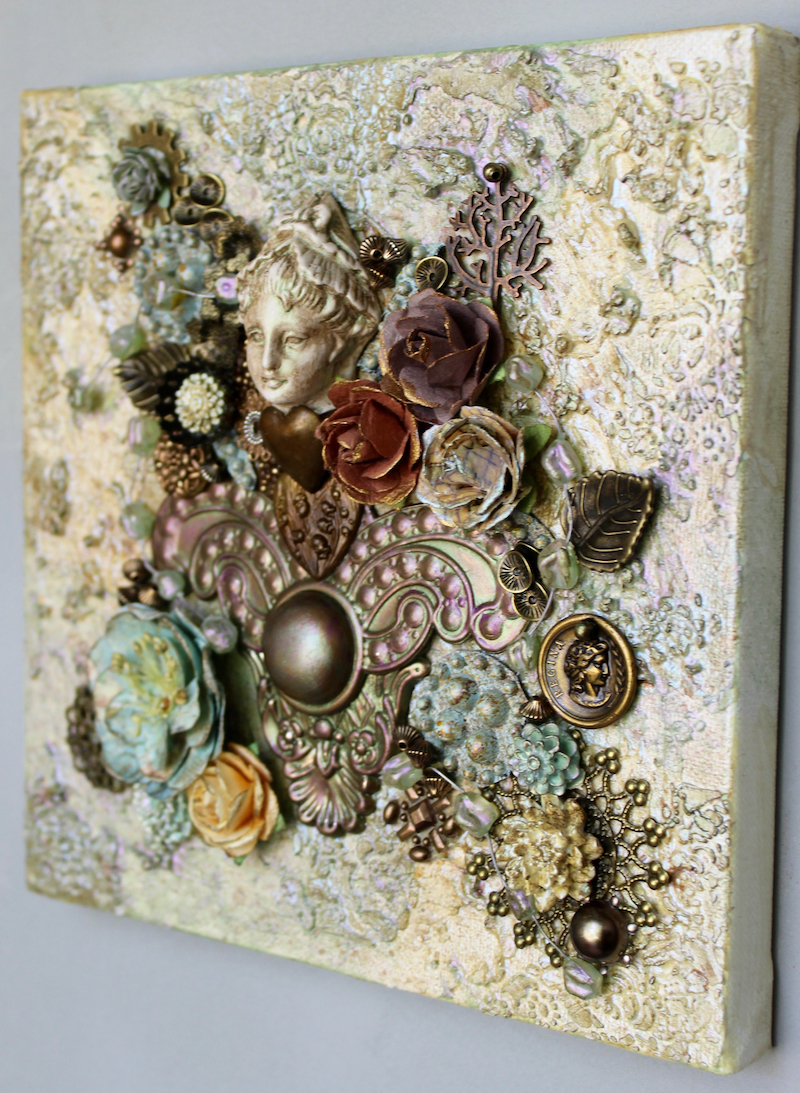
Reminiscent of another age, this Assemblage Art canvas has a European look and feels especially romantic. Assemblage is the method of creating a larger art piece from smaller objects. Best described as a 3D collage on canvas, it contains numerous vintage “found objects” as well as newer embellishments.
Measuring 8.0″ square with a depth of 1.50″, the background is textured with Finnabair’s Art Stones and stenciled modeling paste in a rose design and finished off with a number of paints, spritzes, and Finnabair’s new line of antique and metallique waxes.
Vintage found objects include: pieces of a beaded purse, metal belt piece, coin replica, metal hearts, and decorative button. Newer embellishments include: resin figurehead, paper roses, beaded wire, six types of metal adornments, beaded fabric, floral cabochons, beads, and filagreed metal rounds.
Hangers are attached and, while I prefer the no-frame look, this Assemblage Art piece is ready for framing. It will also display nicely on an easel.
$58.00
Dimensions: 8” x 8” x 1.50″
Available at my Etsy shop
All art sold at Art Creations by Vicky are the work of artist Vicky Hensley and are one of a kind.

 Love Potions is one of my favorite Assemblage canvases to date but its road to completion was a bit more complicated than most of my creations. I’m happy to say that Love Potions found its new home last month although packing it up was a bit bittersweet as I simply loved seeing it on my Art Studio wall – it always inspired me to create even bigger.
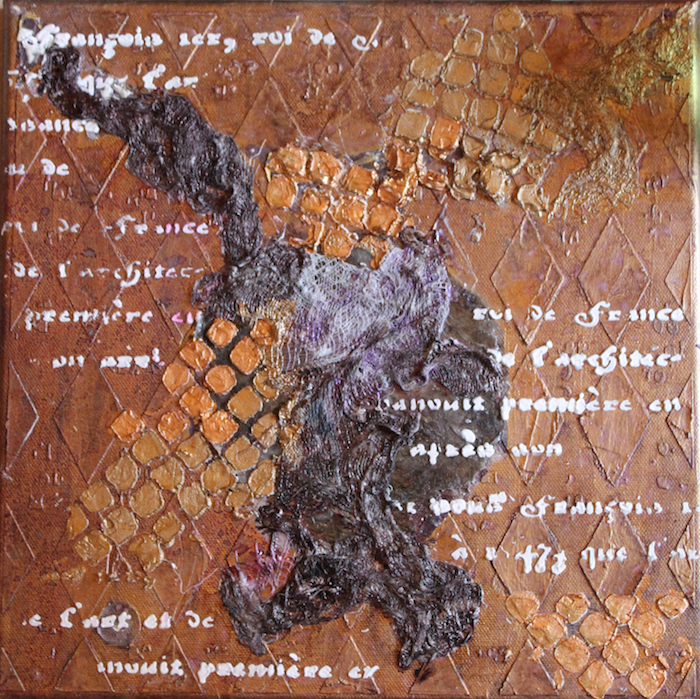
It started out the first time as a rather simple design – a diamond pattern stenciled on the background with only a single piece affixed to the canvas in the center. Although that one piece was somewhat compelling, I discovered that simple just wasn’t my thing. My mind couldn’t settle with the fact that it was supposedly “finished” with ONE piece even with the canvas’s layered background.
So, it became the perfect candidate for a redo. Although I don’t have a photo of the “before”, I do have pictures of the process.
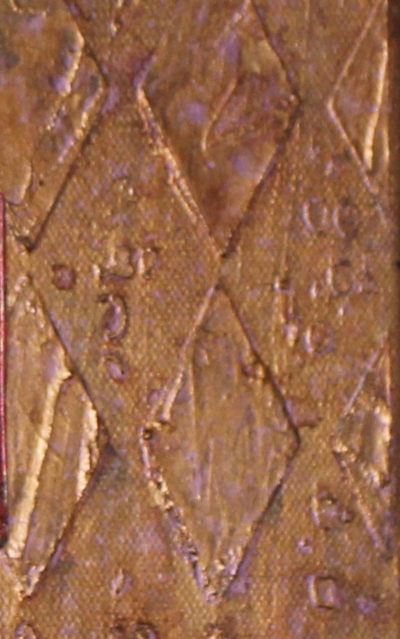
First – here’s a partial view of the original background. When I removed that one and only piece (which was rather large proportionally), most of the central background was negatively affected which meant I had to conceal any lingering signs of the previous central design. That can be the greatest challenge with redos but also the most rewarding as you quickly start to see the new possibilities. And since Assemblage/Mixed Media art is all about layering, just jump in with something simple for your base layer. I started with some gauzy fabric which I adhered with Art Basics 3D Matte Gel.
After the gauze fabric, I started adding stenciled texture paste in a number of designs. Using texture paste with stencils is one of the Mixed Media artist’s best kept secrets. Great backgrounds are made up of many layers of paint and texture material.

Although I let my imagination design as I go, my color palette is chosen before I begin a project. I painted the gauze fabric a deep purple and the stenciled texture paste with coordinating colors. Here you can see some of the Art Alchemy metallic paints used for this particular project as well as a selection of Perfect Pearls.
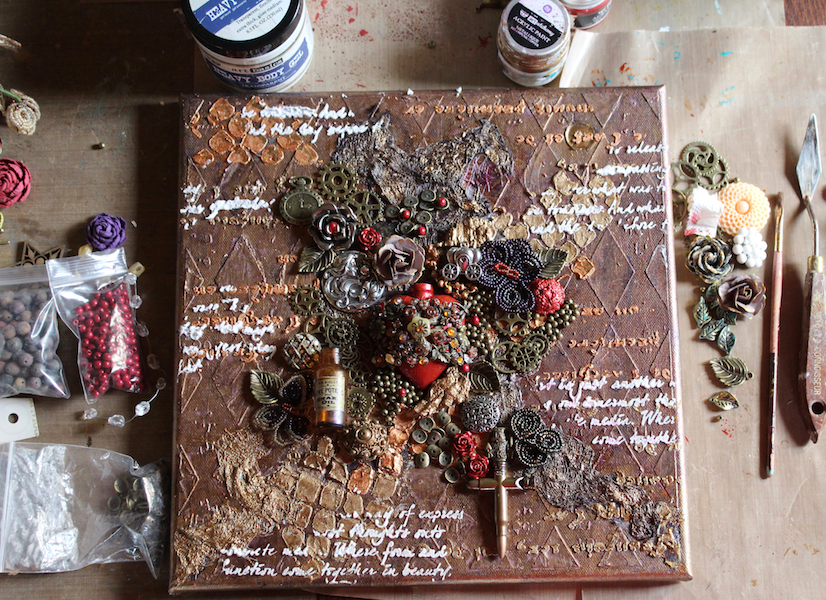
Now for the embellishments – the very best part! It usually isn’t as simple as adhering each element – I often paint or age or texture individual pieces that are then added into the larger piece. This artwork features both new embellishments and older found objects. I want my Assemblage work to be three dimensional so I layer embellishments just as I do paint and texture materials. Often one element is adhered onto another.
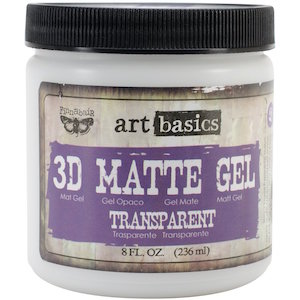
To assure this type of design works, one needs to use an excellent adhesive such as the Art Basics matte gel I mentioned earlier. It also creates dimensional texture and dries clear.
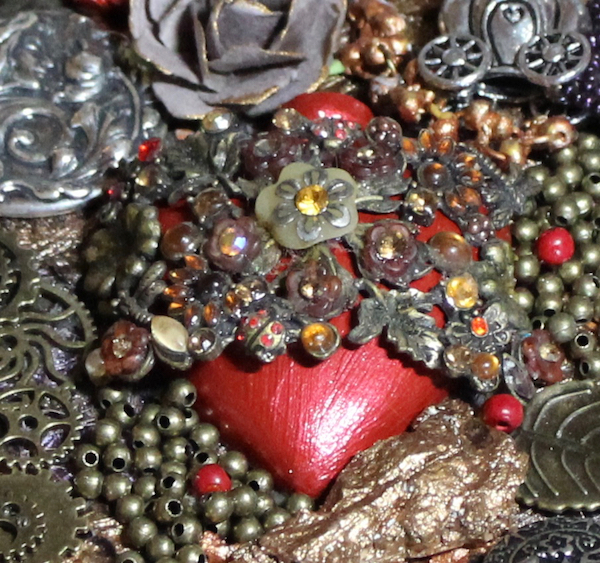
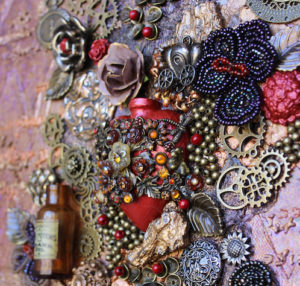
Love Potions contains two of my favorite found objects of late. The first – see the floral covering of the red heart? It is actually a vintage cuff bracelet that I found at an estate sale for a bargain as the metal cuff was broken off on one side. That left the intricate design of the bracelet almost entirely intact.
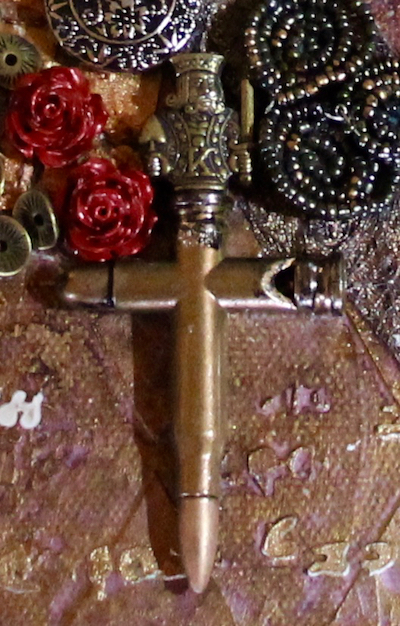
And then there’s this odd little fellow. I have no idea what this king topped cross was used for originally. It almost has the feel of a bullet (??) but it completely caught my imagination when I found it at a flea market. I doubt I’ll ever find one again!
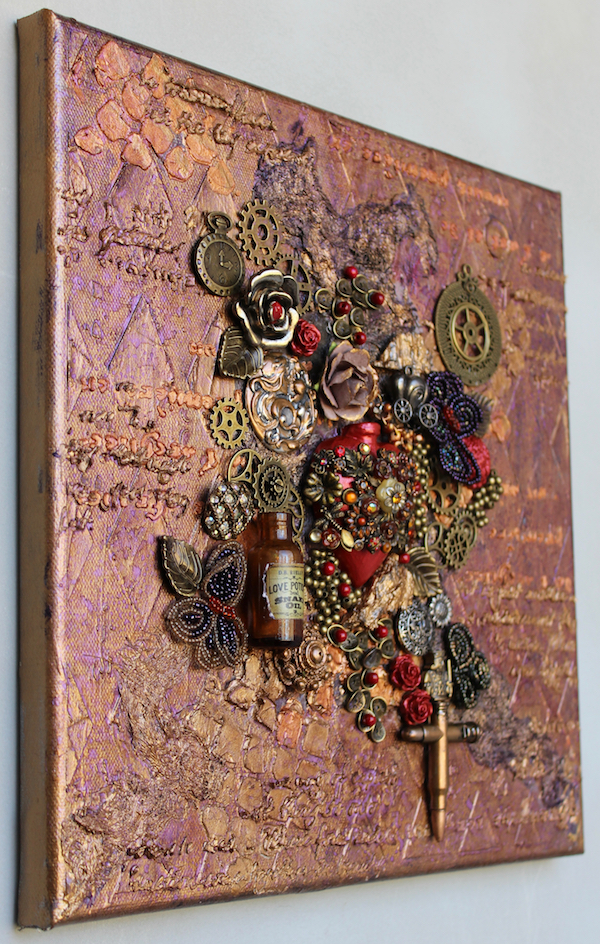
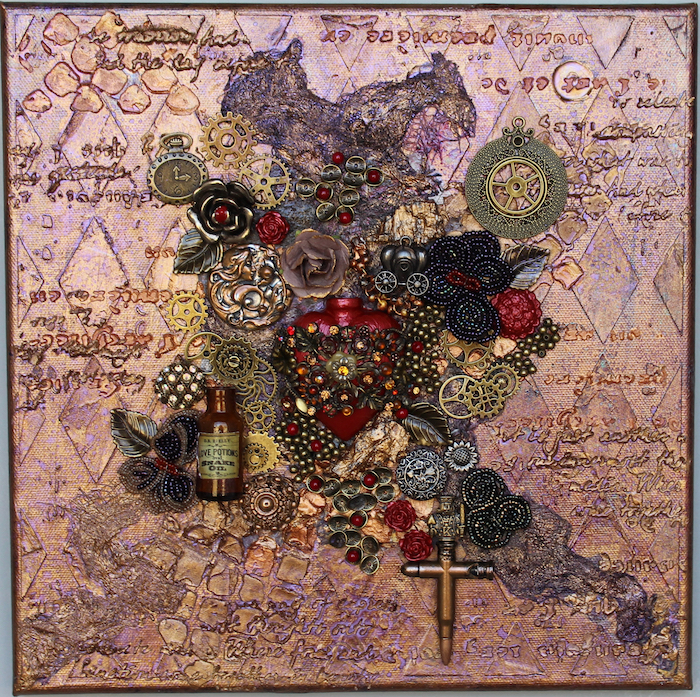
The finished piece – named after the little vintage Love Potions bottle – another flea market find. When all embellishments were added, I sprayed the background with several Lindy’s Stamp Gang sprays – a must for any of my work with a bit of metallic or sparkle or gloss.
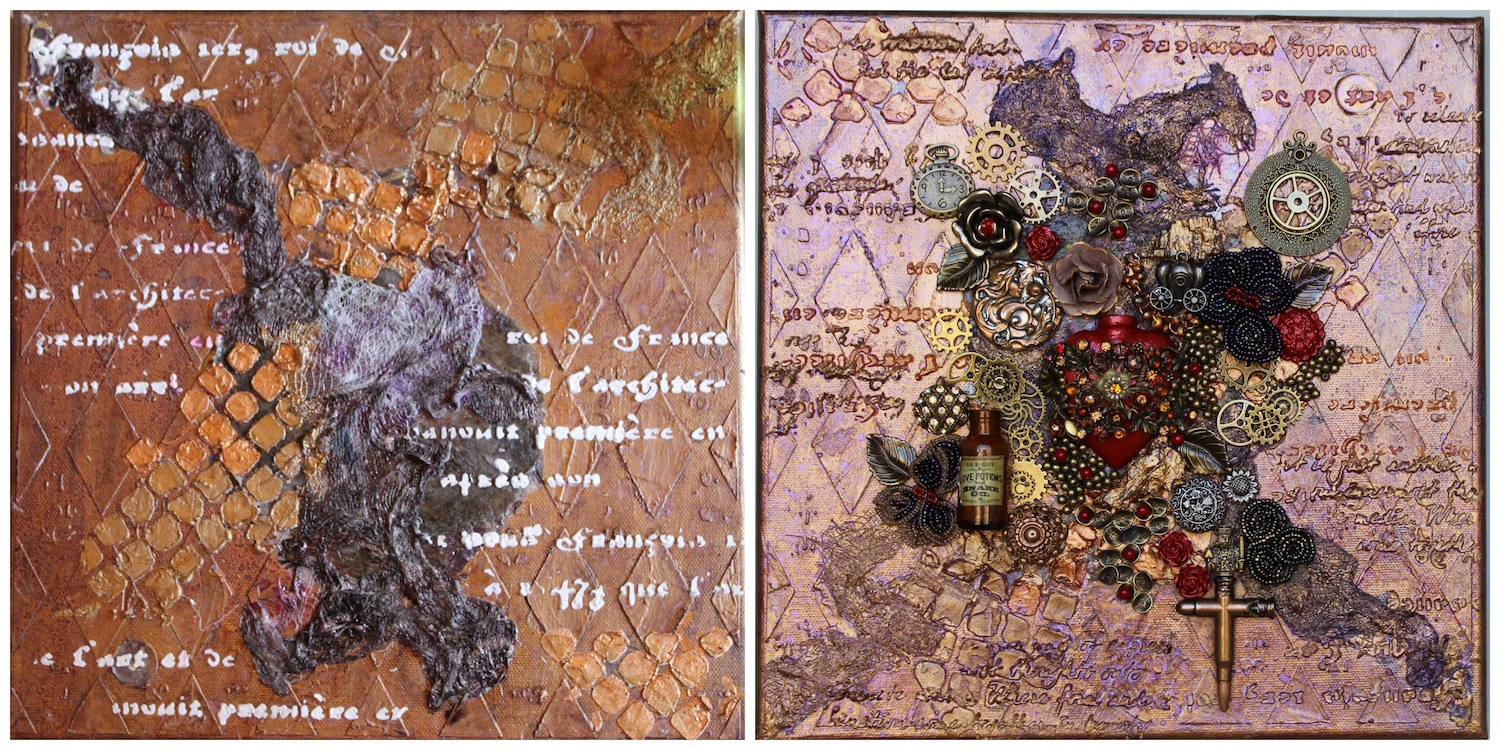
The beginning… and the end project. I love redos!
Vicky