 My art room is filled with objects to include in my Mixed Media Assemblage work. Most are found objects – little items I discover while on one of my flea market or estate sale hunts. I also use a good percentage of new objects found at hobby stores or online. But there’s another type of found object that I value even more which provides me with numerous uses – the larger item that I take apart to use bit by bit.
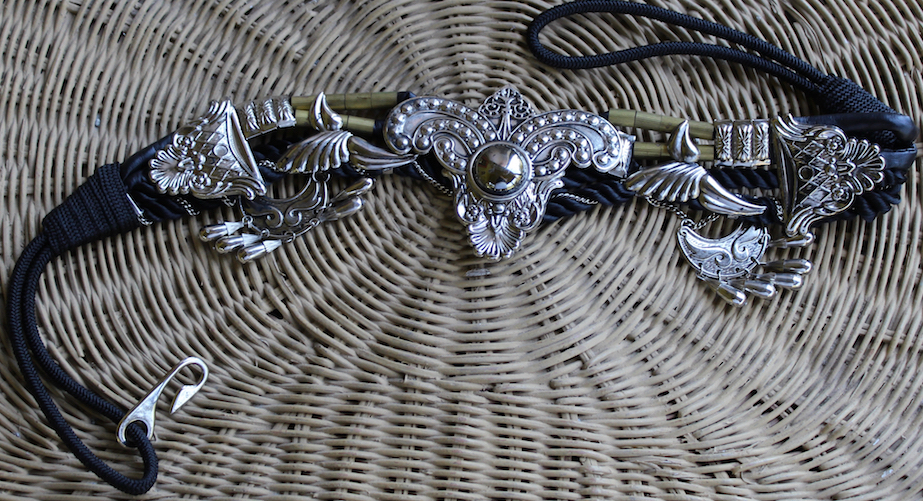
The possibilities are endless as there are so many objects that are actually more interesting once taken apart. I may move on after seeing a beaded purse at a flea market because I have no interest in paying $15.00 for a single item. But as I continue shopping, my mind may return to that purse as I think about the treasures waiting to be uncovered if only I’d buy it. Its unattractive colors are of little consequence since I can always paint a piece to coordinate with whatever color scheme I have in a particular design. As I walk over to take a second look, I realize that the purse would yield at least 50 bits of beaded design to include in my art work. That means each piece would cost me a quarter. Now, looking at it that way, the purse is quite affordable!
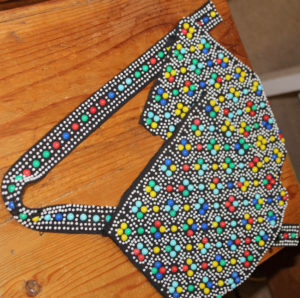
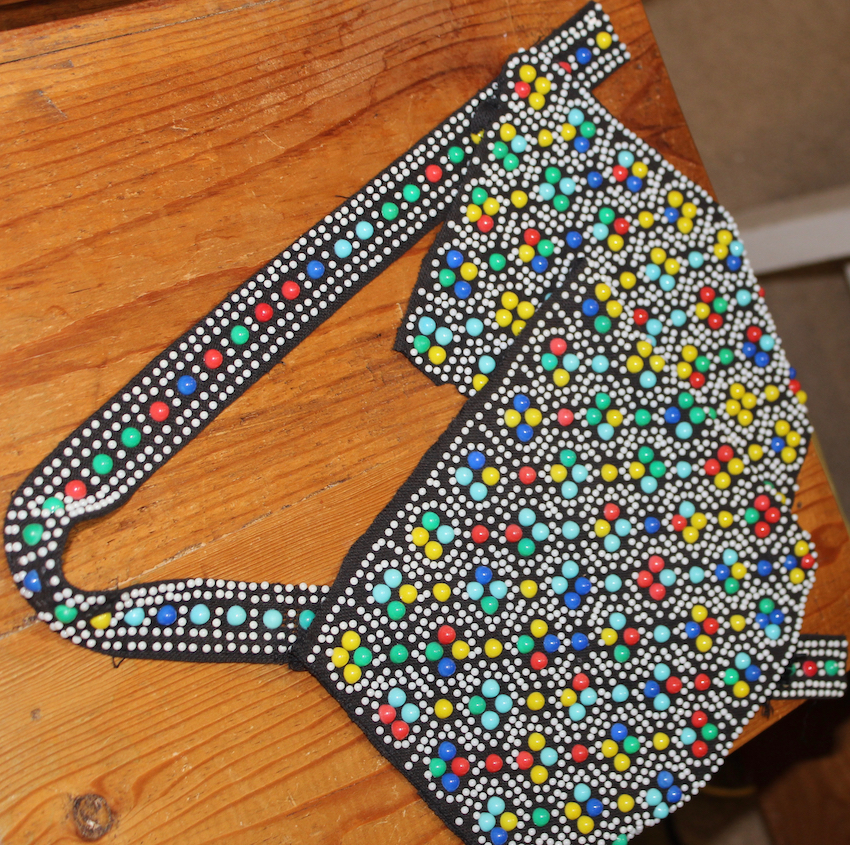
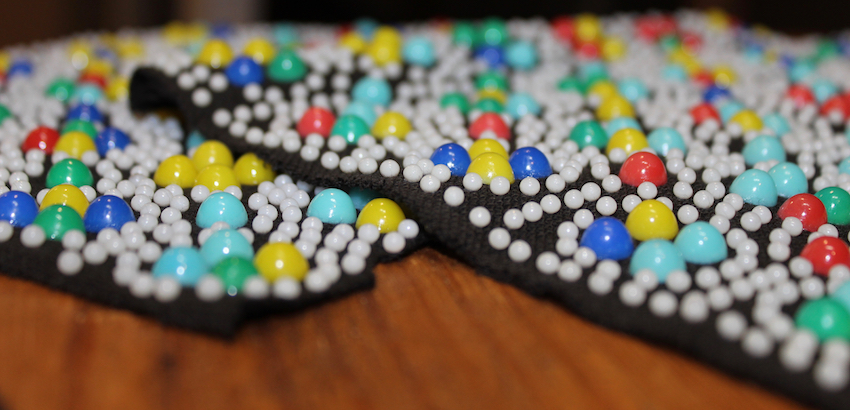
To the right is a perfect example. It is, in fact, that very purse. I wish I had snapped a picture of it before cutting into pieces. It had a shoulder strap (completely usable) and a sixties look to it. And to my eye – an unappealing color combination.
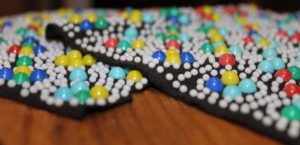
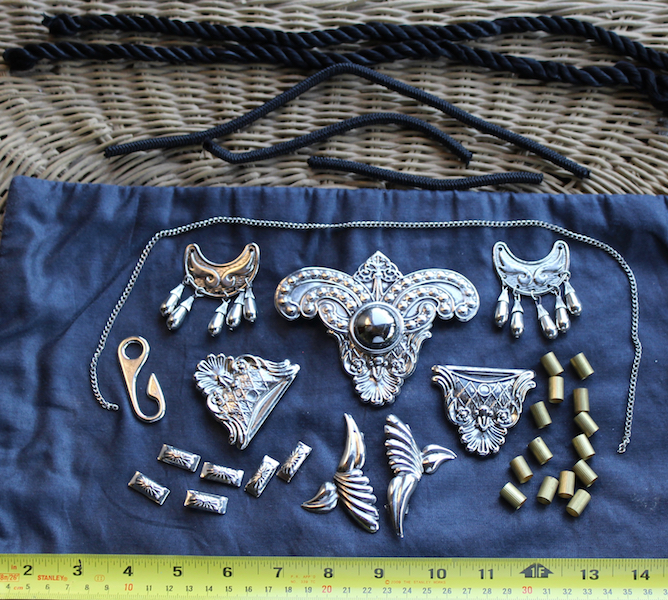
And here’s a close up of all that beaded action. Excellent for mixed media!

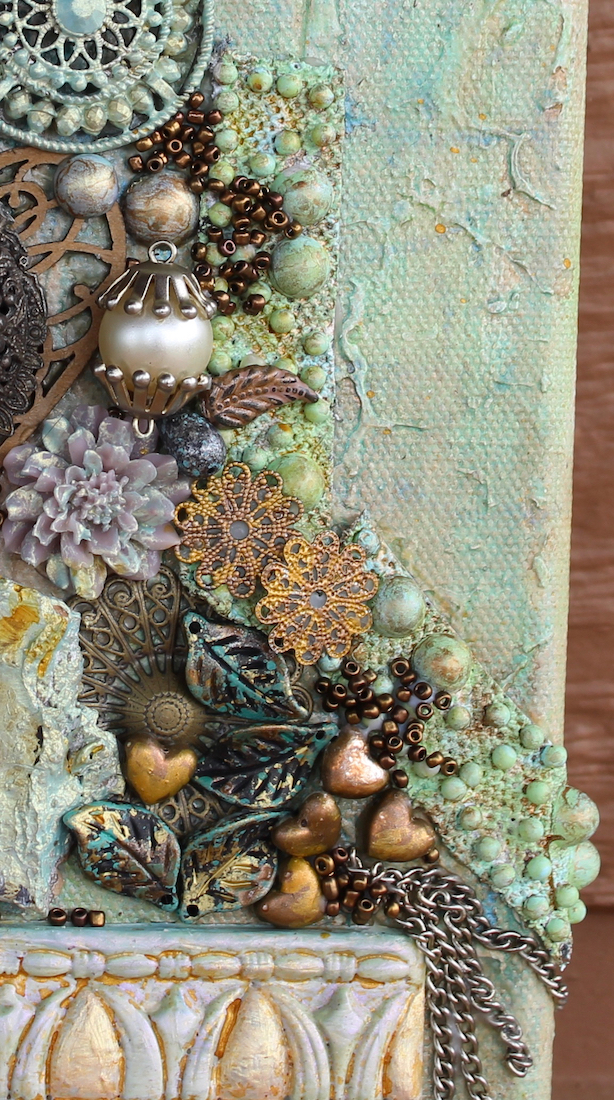
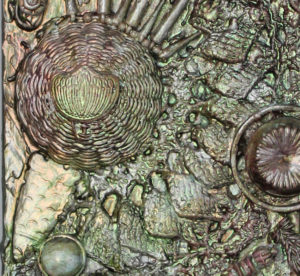
But look at it when used as an element in a work of art. You see the light blue and green beads highlighted with gold on the lower right? It extends up the center to close to the top. That’s the same black fabric with its red, yellow, blue, and white beads. Its look is completely transformed. Even the texture of the backing fabric adds interest.
That close up detail is taken from Tree of Hearts where you’ll find even more use of the former beaded purse.
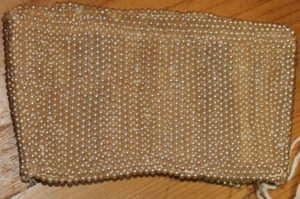
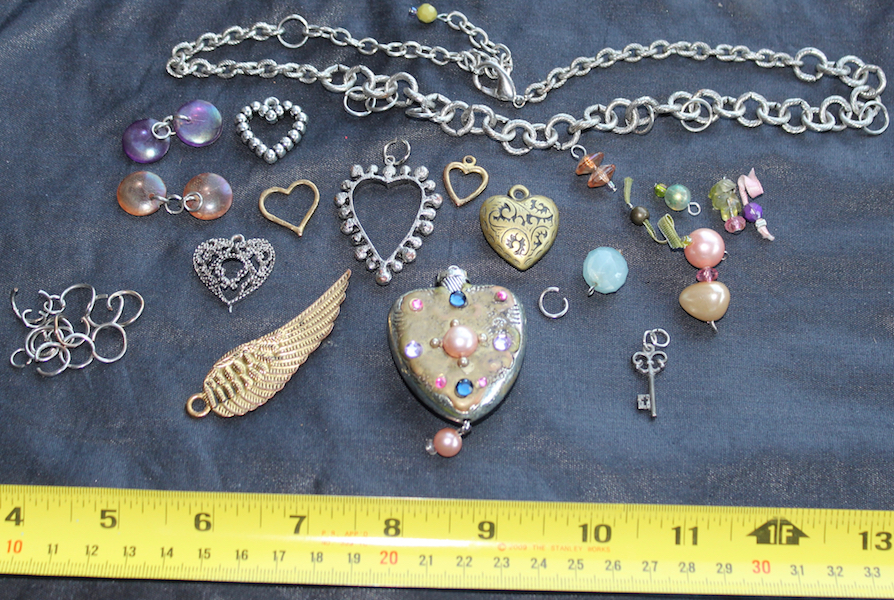
And then there is this little pearl purse with the broken zipper that I have been reducing in size little by little as I have used it over and over as an embellishment. Cost – under $5.00. Yield – beautiful enhancements to at least 20 Mixed Media Assemblage pieces.
You can find bits of this little pearl purse in the image that is the header to Art Creations by Vicky. At the upper and lower edges of this closeup, do you see the orange backing topped with a turquoise pearl? Yep – one and the same. Take a look at Sun Central to see this entire piece.
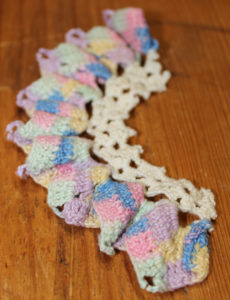
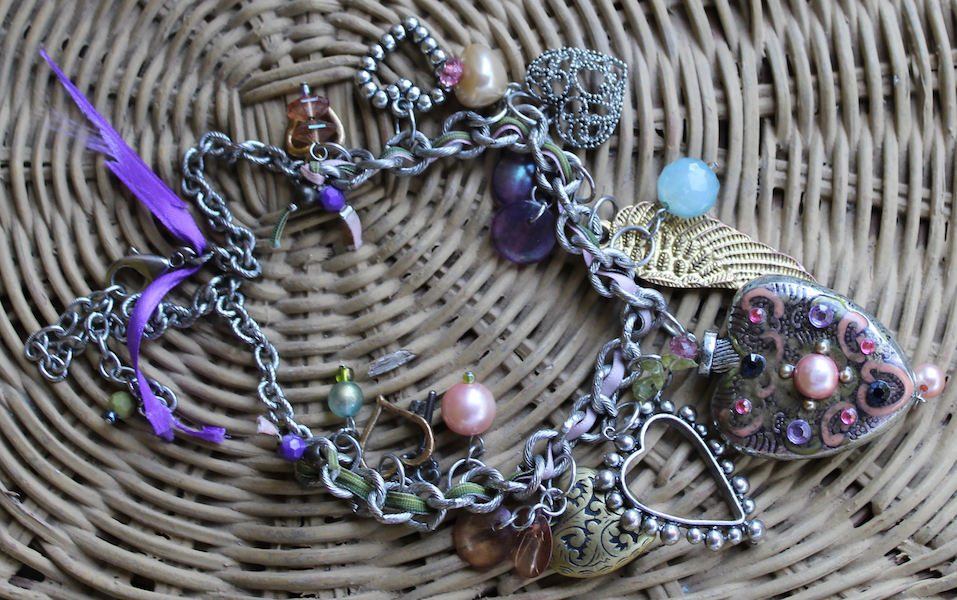
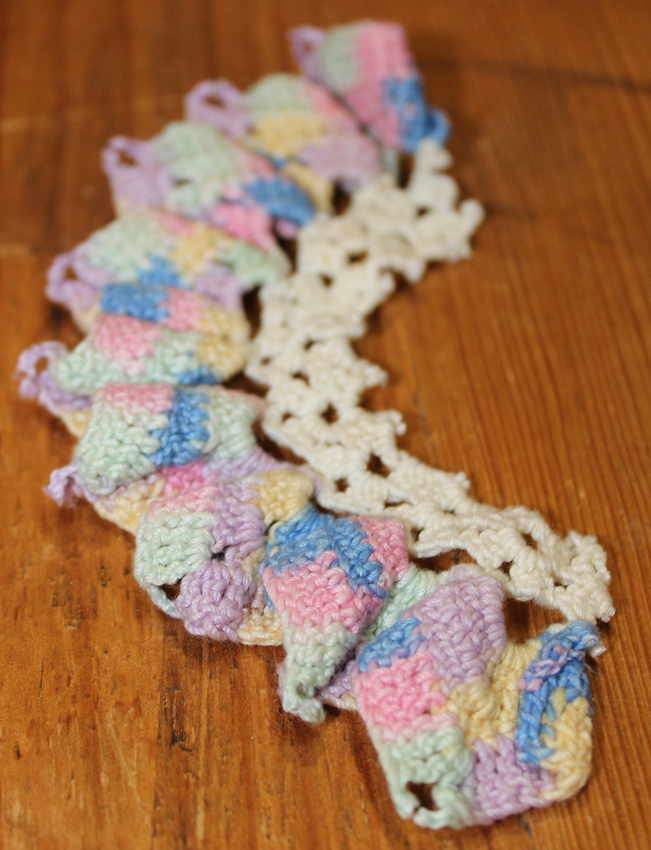
Repurposing old crocheted doilies works well too, especially if they are ruffled around the edges. In this case, the thicker the thread used to make the doily, the better the design for Mixed Media Assemblage purposes. I have been taking pieces from this ruffled doily for some time now.
Here’s a piece of that same doily ruffle in one of my earlier pieces. It’s stretched from the right of the straw basket to below it. Magnificent effect.
It’s Not Limited to Fiber or Fabric
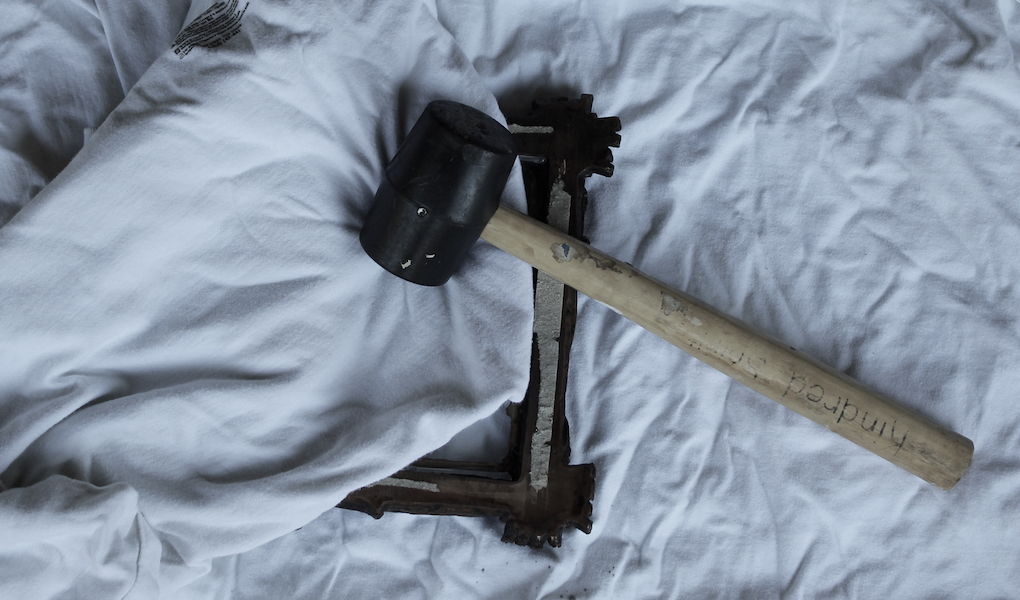
Using bits of larger pieces is certainly not limited to fabric or fiber. What about a really old clock missing so many pieces that it is priced for a song? Steampunk is big and clock pieces thoroughly fit into that look. Bingo – your $5.00 salvage just turned into at least 10 pieces that provide distinction to your artwork.
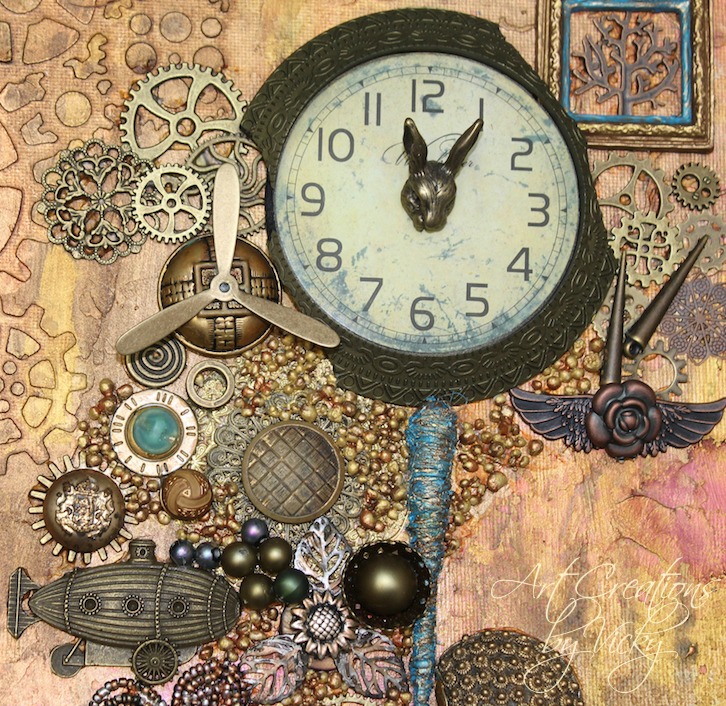
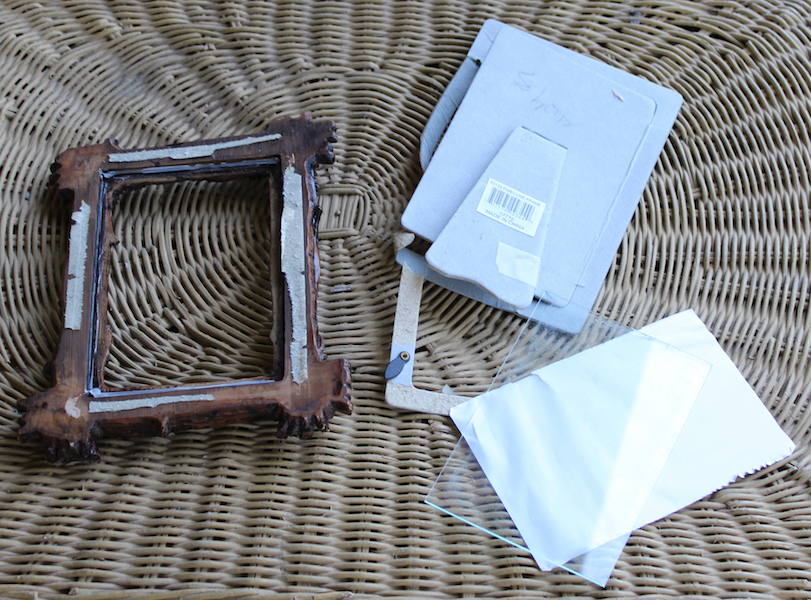
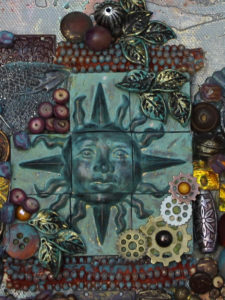
Here I used an old clock face for the focal point of a steampunk piece. You’ll notice that its frame is broken. For Mixed Media and especially steampunk? All the better! I have the gears and other pieces to use at a later time. To view the entire piece, take a look at Steampunk Time.
Remember – when hunting for a piece to disassemble or cut apart, don’t consider the colors or even the type of metal. If the metal is too shiny, you can age it. If it is silver, you can paint it bronze without risking peeling if you have the right type of product. If you don’t care for the color of the fabric/fiber, paint it first with gesso then the paint color of your choice. The possibilities are endless.
I’ll be talking later in more detail about how to change the colors or age an item. There is a lot to learn but it is well worth the time!
Vicky
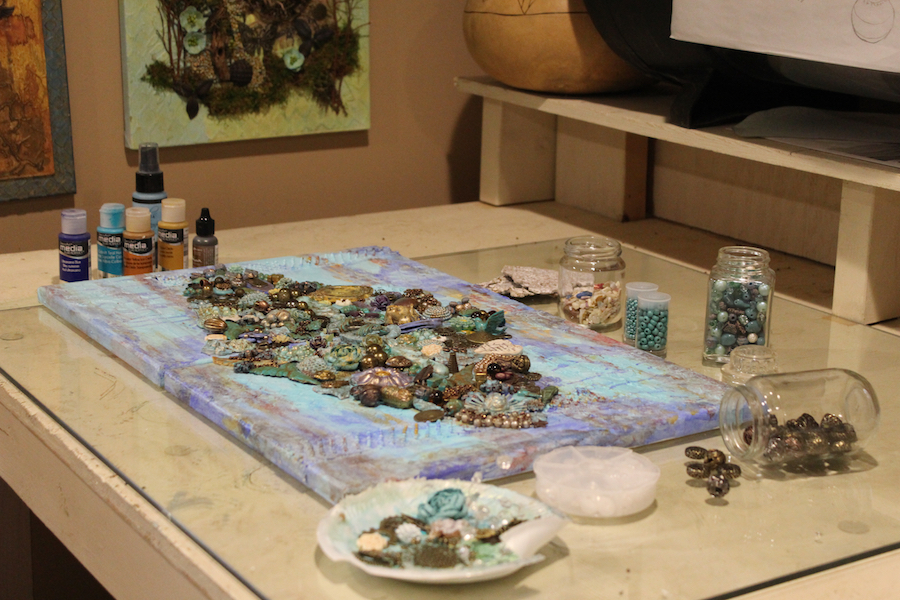 By necessity, I have taken the last two weeks off. And it was just as I was ready to place the finishing touches on my latest work – a “two canvases make one” sort of Mixed Media Assemblage project. I am really excited as this one has felt good every step of the way even though it represents many hours of work.
 I’m still adding a few embellishments to balance it all out. But the background will be the larger task as I plan to tone it down, remove the drips I purposefully included (and now feel must be removed) and cover up the deep red. I want the central design to be the focus without the background battling for attention.